HANGING FABRIC AND SEAM PLACEMENT
/I want to give you helpful insights to explain how we work with large amounts of fabric and install each piece according to the room. No two rooms are ever the same but I do use a strategic plan when I hang the drops of fabric. The fabric is tailored to each wall so the seam placement looks neat and, where possible, symmetrical to the wall. There is a method for hanging a patterned fabric and another method to hang a plain fabric.
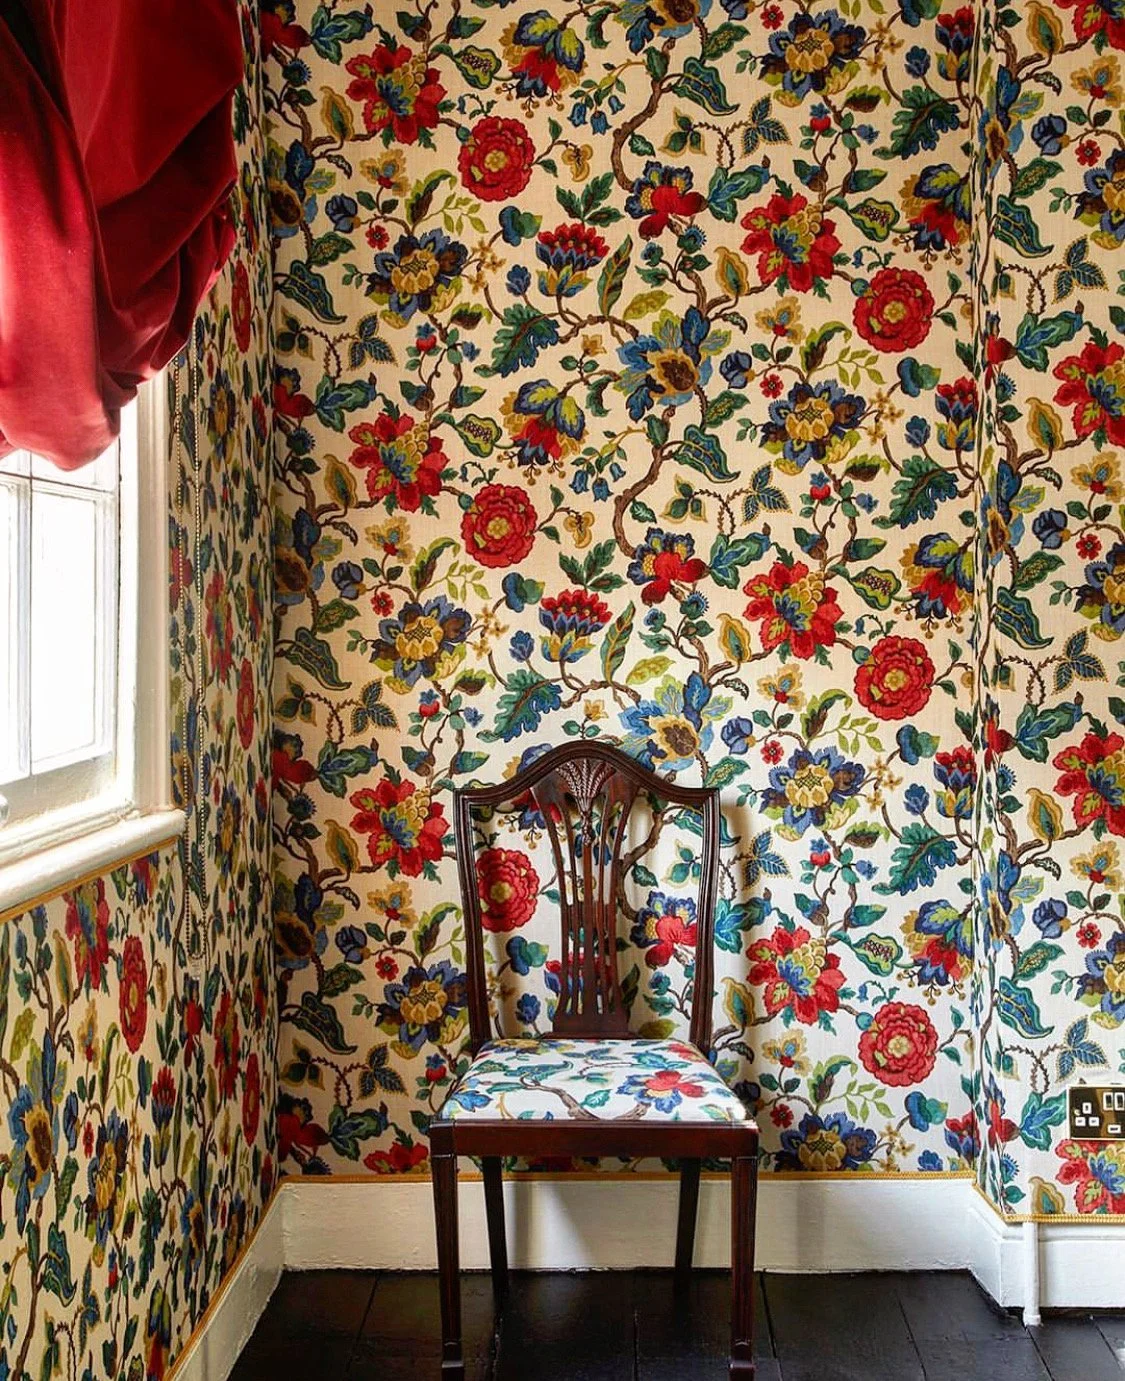
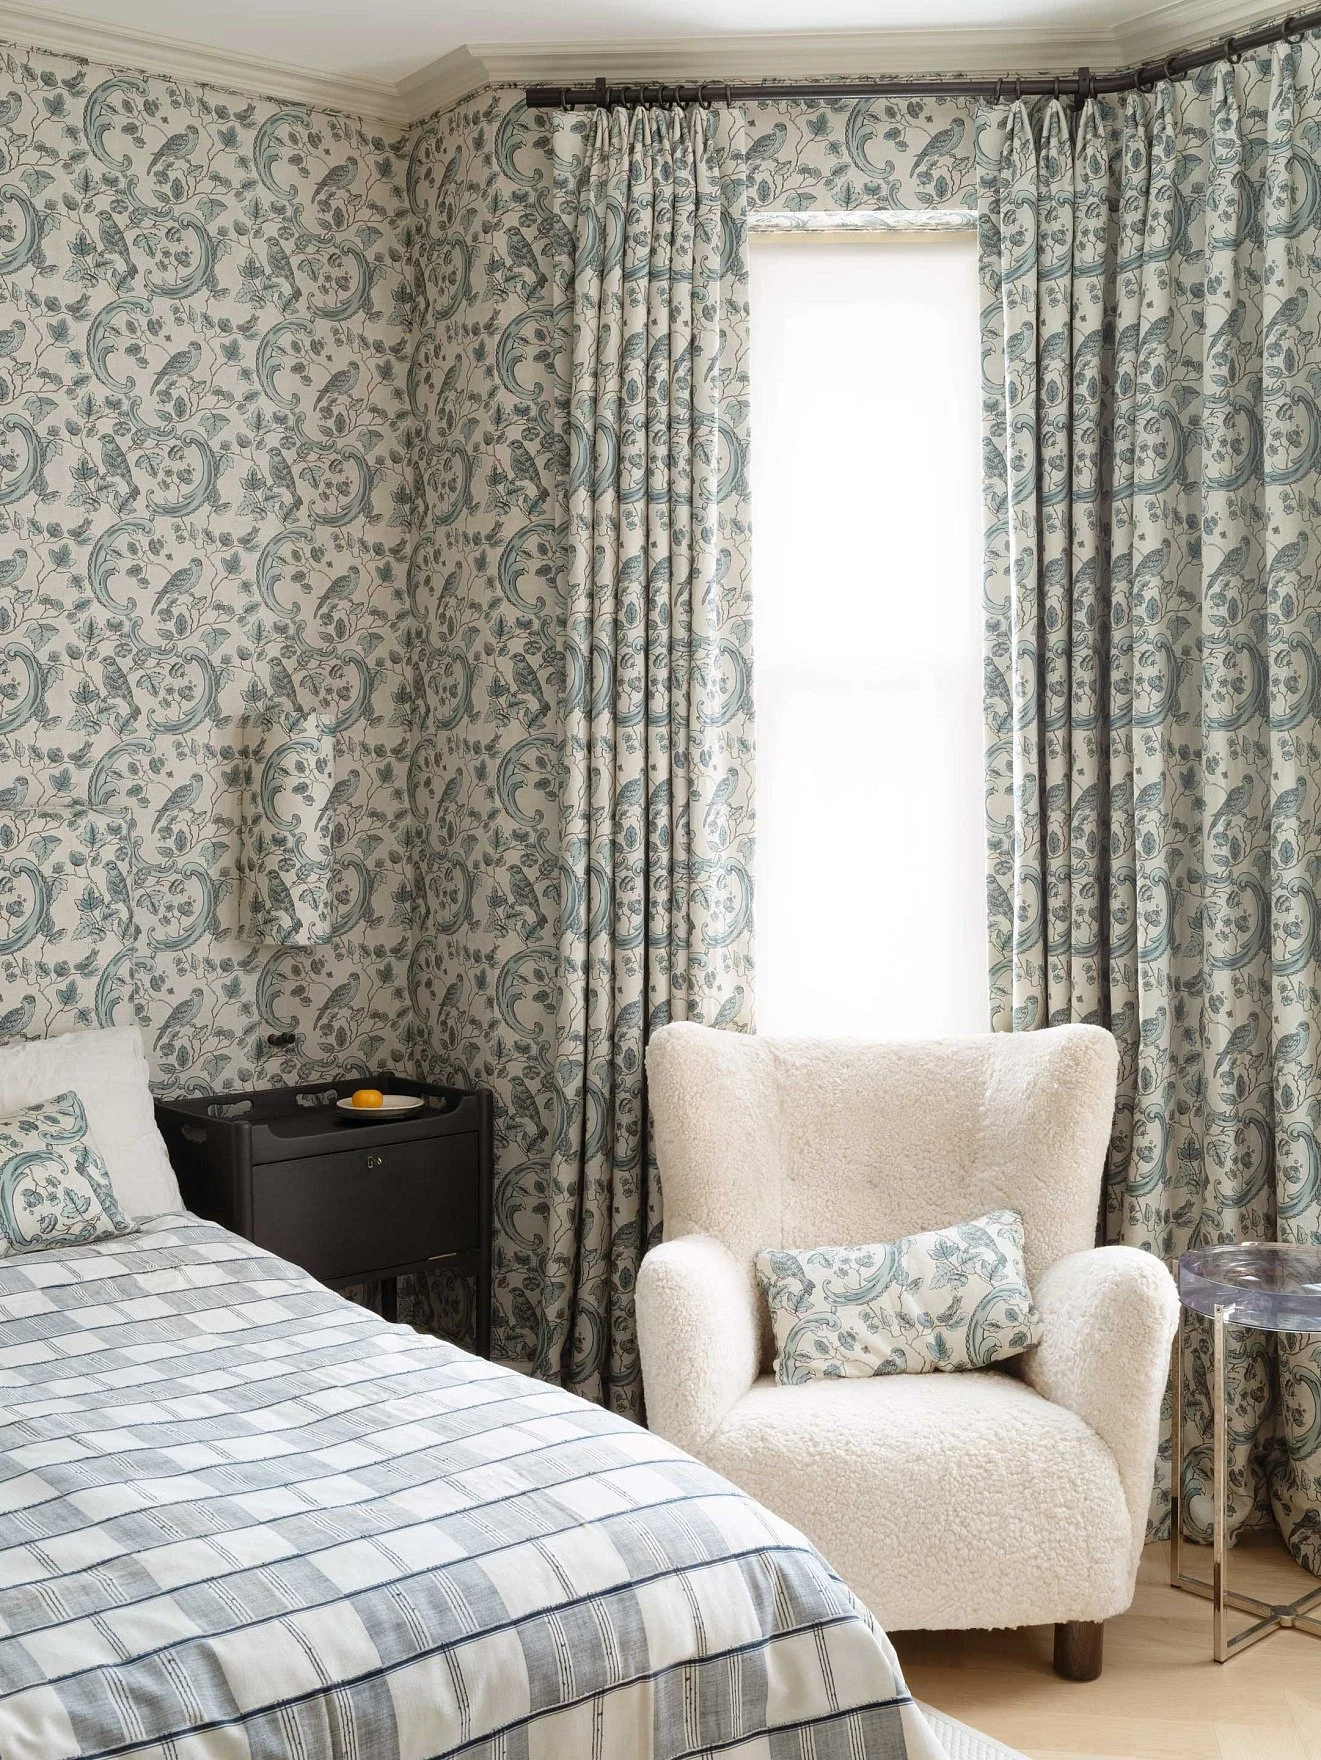
Try to spot the fabric join on the wall below. Its there just behind the chair….
When the drops of fabric are stitched together, the seams disappear more as the fabric is stretched across and down. I tend to find they are LESS obvious with a patterned fabric, becoming lost in the sea of patterns! See the example below and let me know in the comments if you can work out which side of the image has the seam...there IS one there.
When I enter your room, I always pick the ‘focal wall’ as my start point. This could be the fireplace, if in a living or drawing room; where your headboard will be placed in the bedroom; perhaps the cinema screen position. Basically, it’s the first wall you look at when you enter the room!
Patterned fabric method
When pattern matched precisely, the seam should become lost in the pattern but inevitably they are there and visible if you really want to look for them. Unlike a plain fabric, you are dictated by the pattern as to where seams will fall as you work around the room - but this doesn’t really matter as you don’t pick out the seam like you would a solid colour or plain fabric.
We always start by aligning the middle drop seam OR middle drop of fabric to the centre of your ‘focal’ wall. We do this to ensure that we have control over the seams on this wall. Because the eye is naturally drawn to this focal point, we want the pattern and seams to be symmetrical here. Once we have our starting point on this wall, we then begin to work from the left and right around the room. As a result, the pattern seam on the remaining walls will fall accordingly to the horizontal repeat. While we don’t have too much control over where the seam falls on these walls, I really like to see a seam falling too close to a corner. In this instance, I always try my best- where possible- to make sure the seam is a good distance away. Often a fabric may have multiple horizontal repeats, making this possible however we are limited if the pattern repeat in the width is large.
For this guest bedroom project pictured above in Notting Hill for Fran Hickman the left image shows three drops that we have pattern matched and stitched together. The right image show the fabric stitched and fixed in place. We have centred the middle drop to the wall so that the seams sit equal either side to the wall. Not is this only aesthetically pleasing to the eye BUT we also like to take into account the possibility that a headboard might be created in the same fabric as the wall fabric and therefore we want the same pattern to follow from top of wall to bottom of the headboard. Once the fabric is stretched taught the seam is harder to clock!
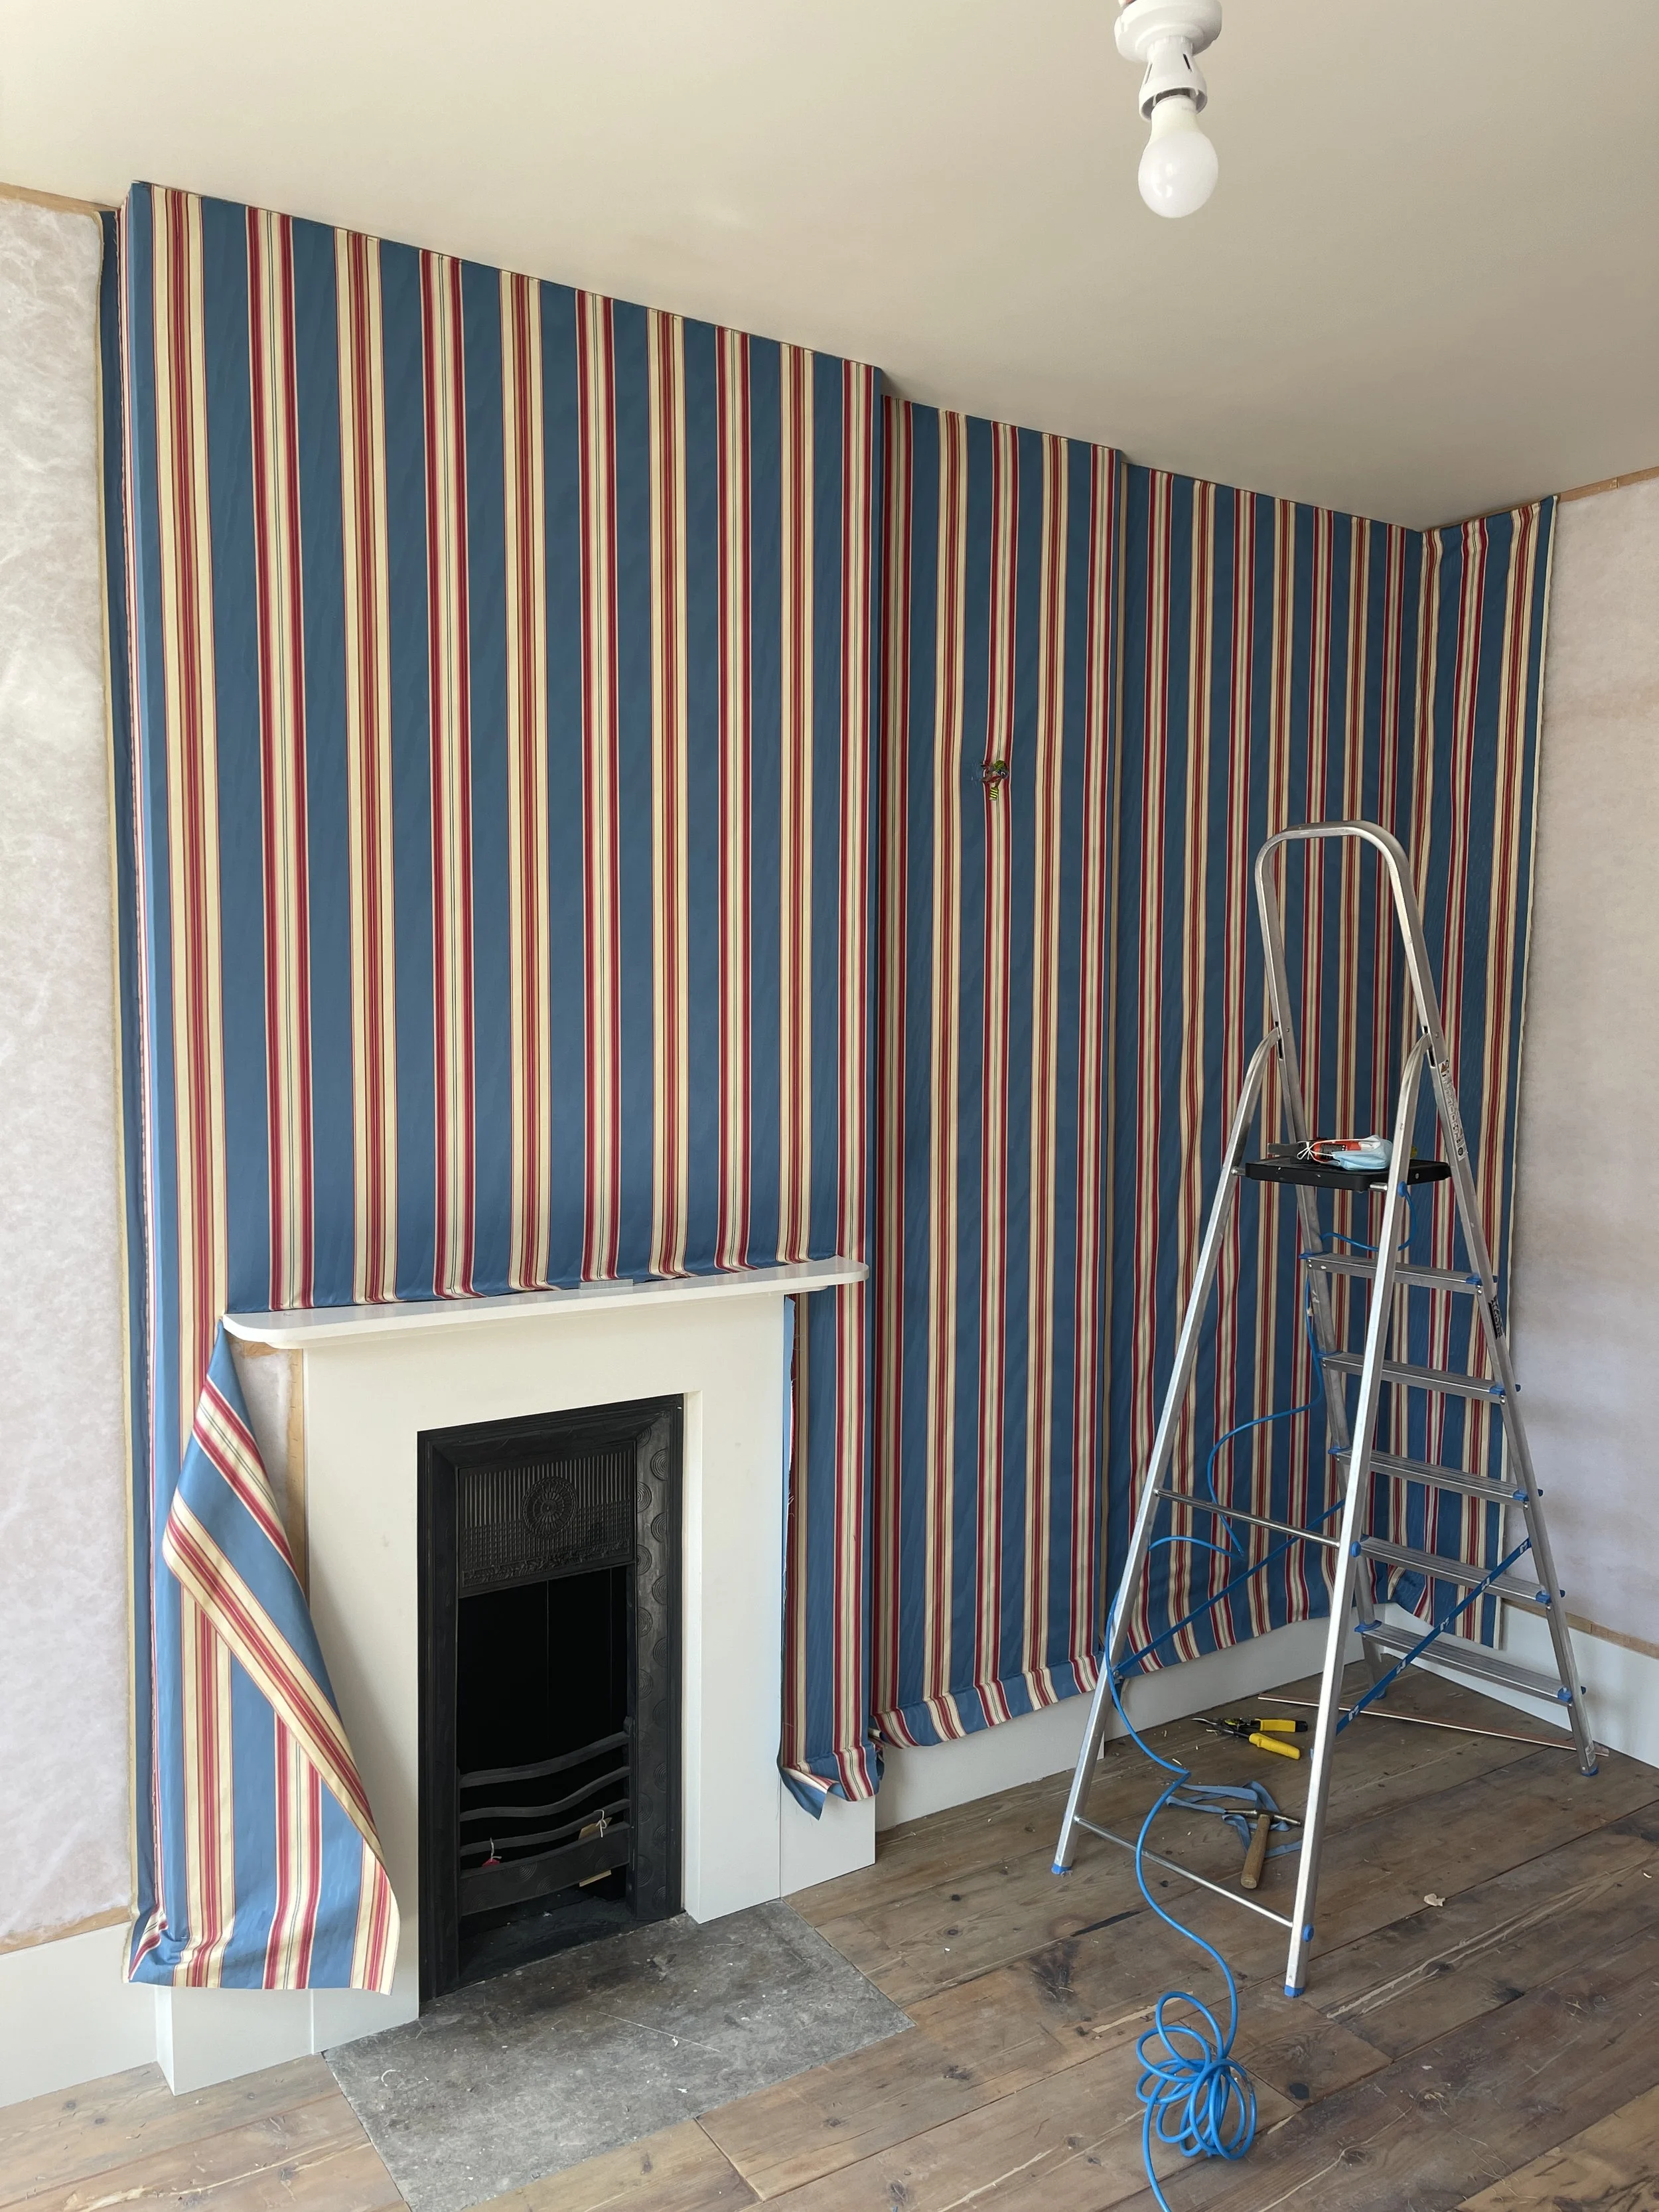
Above shows two examples where the fabric install begins on a fireplace ‘focal wall’. Once the fabric drop is positioned and centred to the fireplace we then move around the room left and right dictated to us by the pattern.
Plain fabric method:
Unlike a patterned fabric, with plain fabric you are NOT dictated where your seams fall and without the need to pattern match in the corners of the room, we are able to symmetrically place the drops of fabric to each wall. I believe this is good practice too with any other finish (ie. wallpaper or paper-backed fabric). Discuss with your installer if they have a join placement plan... because they should and often I have seen wallpaper and fabric-backed paper installed unsymmetrical to the wall and it bugs me!
In the above bedroom for Natasha Birley at Tatty Bird Design, the seam placement was a little tricky; I would have preferred to centre the drop of fabric behind the bed however it meant then having the next drops seam seam either side very close to the corners of the wall - not a look I like! So instead by making the seam centred to the bed four drops of fabric were positioning more equally to the wall without a seam falling close to the corner.
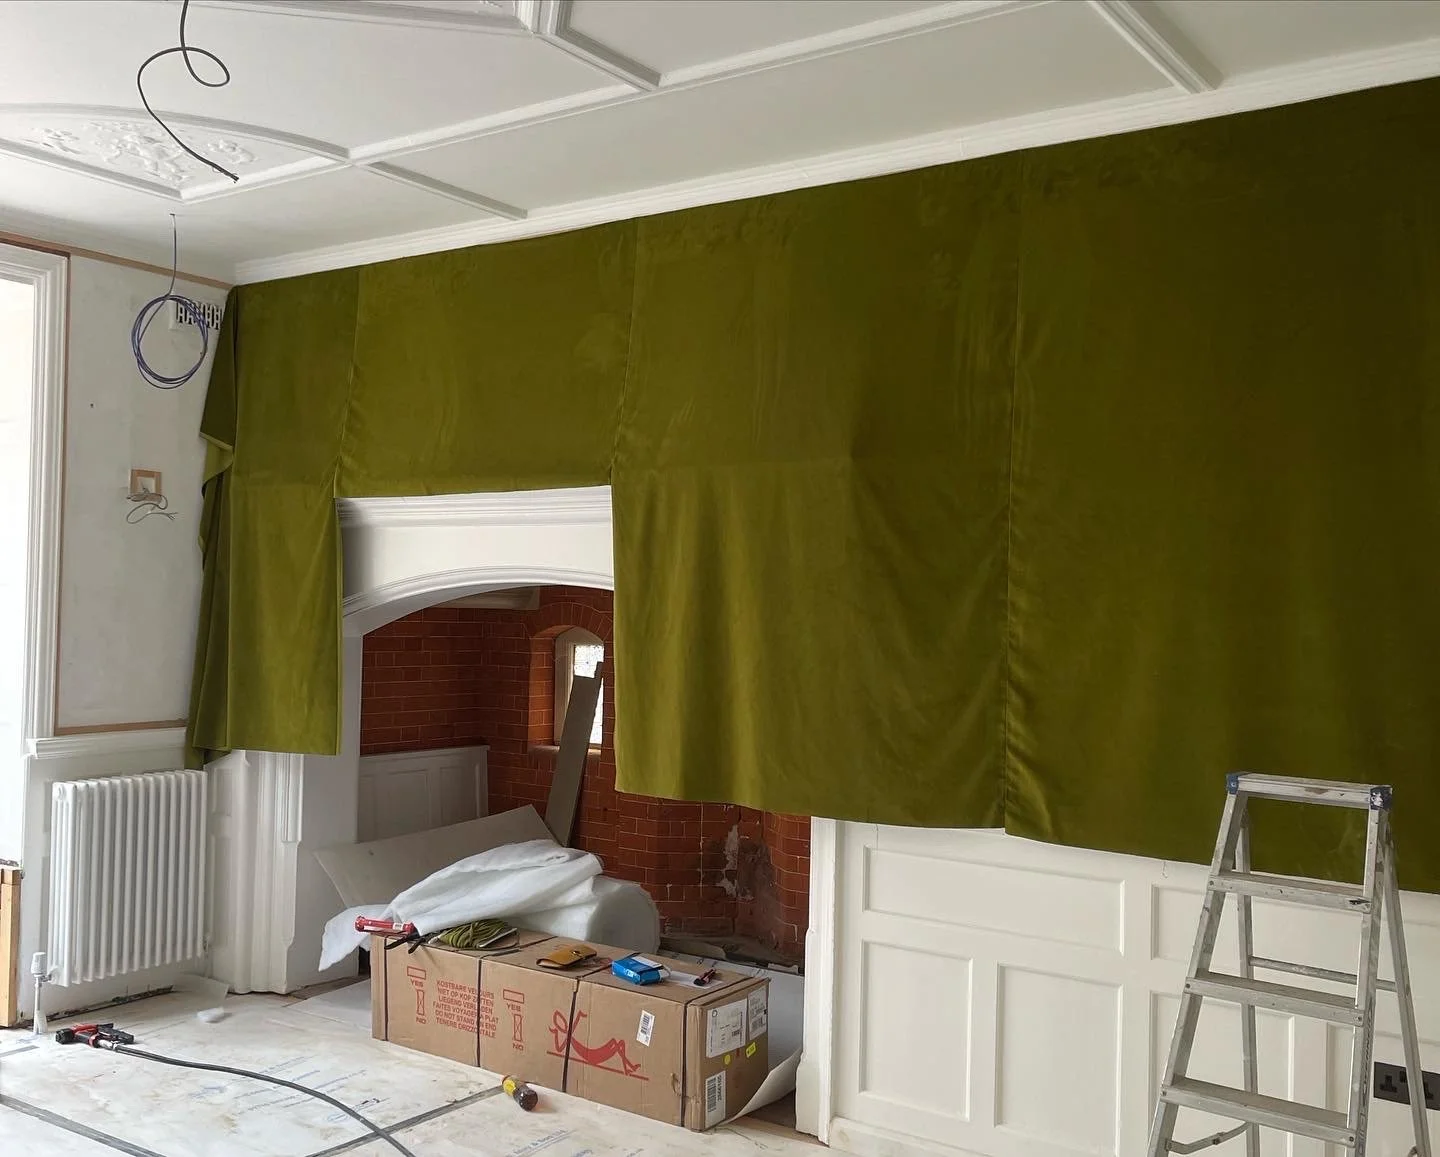
Above on our West Bay House dining room install you can simply see the velvet placement on the back wall. Three stitched drops of velvet with the middle drop centred to the wall and seams placed symmetrically along with the wall lights. And below I have started this section of the dining room with the ‘focal wall,’ centering a drop of velvet above the fireplace and working the drops of fabric left and right.
Would you like a seamless wall?
Whether you are installing wallpaper, fabric, or paper-backed fabric to your wall, all lengths will need a seam or a join. Joins are inevitable.
I will always remember a meeting I had with a client at their studio, discussing for over an hour about all the aspects of fabric walling. As I began discussing seam placements, she went very quiet and told me if she were to have a fabric wall then she couldn’t have any seams! There is one solution which will result in a seamless finish, but the downfall is that it really limits the choice of fabric you can have on the wall.
Fabric, unlike wallpaper, can be produced at a ‘double width’ which means the width of your fabric falls now at 2.6 metres rather than the ‘on average’ 1.3m. If we were to then turn this width on its side (called railroading), the width of the roll now runs vertically. Providing the height of the walls do not exceed 2.6 metres (that would be a one large wall), we would no longer need to cut and stitch drops of fabric together, creating seams, and rather have one whole piece of fabric.
I don’t have any fabric walling examples to show you unfortunately, whilst I have used a double width fabric on a recent project I was unable to share images due to privacy reasons!
You are limited here because a) you would only be able to do this technique with a plain or textured fabric. Not a lot of patterns would work except for a horizontal stripe (which would then become vertical), a check or perhaps a pattern that is busy or small enough to not have an obvious direction. And b) not every fabric has the ability to be made into a double width piece.
Depending on the height of the walls, this method could create more wastage of fabric too. Let’s say the part of the wall being covered was 1.5m high, we would have an excess of 1.1m at the bottom that could be too short to be used anywhere else in the room. We could turn this into a double piping, perhaps….


